Grace: Welcome again to today’s segment
If there is anything I’m learning in my years
of blogging is that every blogger
of blogging is that every blogger
can be distinguished by what they know how to do best.
I found Oroma on twitter and I loved her work,
especially in regards to photography.
especially in regards to photography.
She has my kind of style but in a
unique way and today she is taking
unique way and today she is taking
over for bloggers on your radar.
Shining a spotlight on her skills in photography
Shining a spotlight on her skills in photography
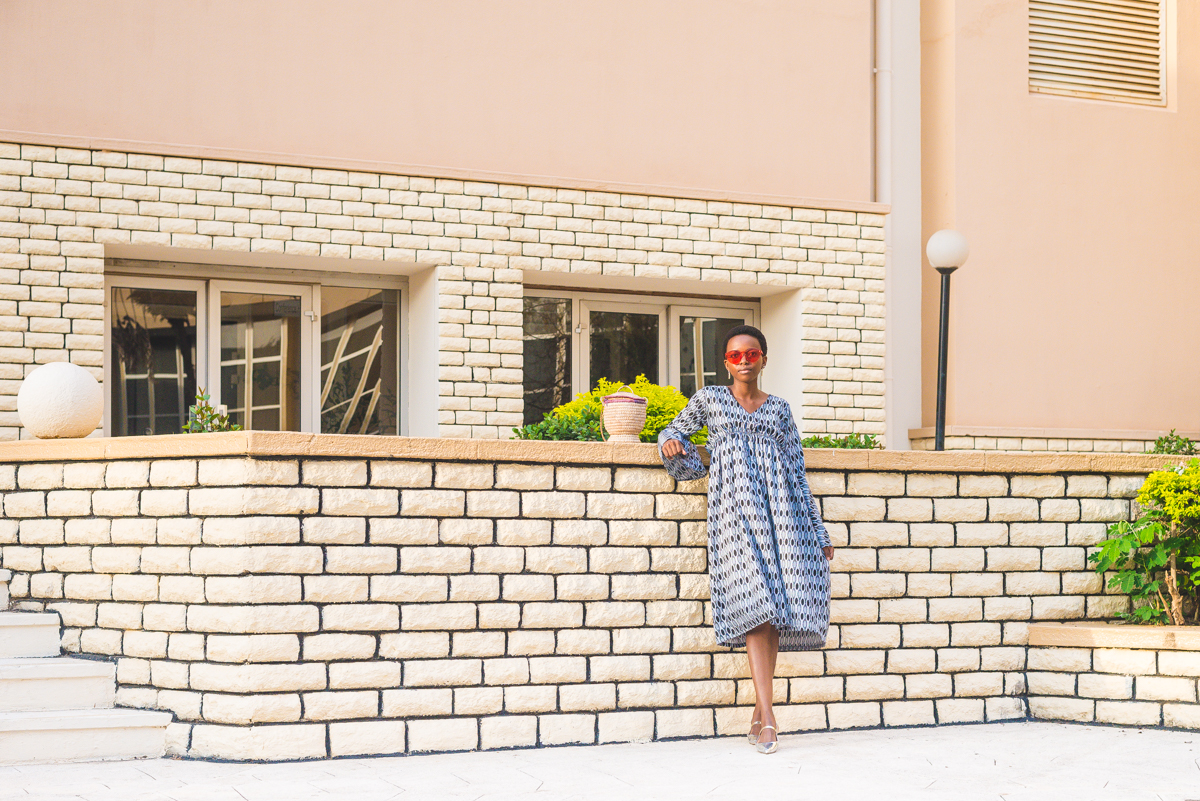
Hey guys, today Grace has asked me to share with you a few photography tips I live by and my recommended cameras for creative beginners and bloggers. As few of you may well know, I dabbled in photography for a while during university and although I haven’t had the time to really pursue it in the past year, it’s something I still enjoy doing. I don’t know much as I’m still learning but I’m happy to share the little I know below.
Honestly, the common misconception that most people make is that you have to have a big and expensive DSLR camera to get the best photos. That’s a lie. You can start with just your phone camera. Don’t believe me? Have a look through my Instagram feed or my VSCO feed. Most of my photos since I joined Instagram were taken with either an iPhone 6S, 5S or a 4. You also don’t need to have an iPhone lol, in person I am biased about this topic but there is evidence online that even android phones can take pretty good pictures. With the help of a few apps, your mobile photos can look just as good as “professional camera” photos.
My first “real” camera was a Nikon D3100 with the 18-55mm kit lens. This was an entry-level consumer camera and honestly, I took my favourite photos with it! I currently use a Nikon D610 with a Nikkor 50mm f1.8G lens and a Nikkor 35mm f2D lens. I tell people that I only upgraded to a full-frame camera because it was always raining in Swansea and I needed a weather-sealed camera and this is partially true! My D3100 did a great job and it was and is still inexpensive! I can’t say much about mirrorless cameras as I haven’t tried out any but there seem to be a lot of good reviews on the internet. I’m considering getting my hands on one! Learn More: Phone Photography Tips | Taking Sharp Photos With An iPhone.
COMPOSITION IS KEY:
Every photo has a “main subject”. When photographing items or people, you need to arrange the elements in the photograph in such a way that it draws attention to your subject. Try to minimize distractions in the background and make sure the background complements your subject. The rule of thirds is a great start when learning about composition. Try taking photos in different angles and with different perspectives till you get it right. I always try to get the composition right in-camera by stopping, thinking and re-positioning myself or my subject before I click the shutter release button! Learn more: Photo Composition | The Rule of Thirds.
LIGHTING IS IMPORTANT:
I for one, prefer natural light and shooting either outdoors or by windows. I haven’t got much experience shooting with artificial light and for this reason, I tend to shy away from indoor shoots for this reason. I strongly advise against taking photos at noon, when the sun is at its brightest as this leads to your photos having unpleasant shadows. For outfit photos, I advise that you shoot in shady areas, at the golden hour (i.e sunrise or sunset) or on overcast days. Of course, you’re free to experiment with different lighting situations. That way you can discover your style and what works best for you. The one thing I will say about indoor photography though is to try to avoid using the in-built flash on your camera. Instead, get your hands on a speedlight or look into alternative forms of artificial lighting. Learn more: Using Natural Light | Shooting in Sunlight | Shooting in Low Light | Lighting for Flatlays | Indoor Photography Lighting.
SHOOT IN MANUAL MODE:
Familiarize yourself with your camera. If you own a DSLR or mirrorless camera, you need to step out of your comfort zone and learn how to shoot in manual mode. It’s not rocket science, it took me two days to wrap my head around it. Read your camera manual and watch youtube videos. Understanding ISO, Aperture and Shutter Speed will definitely improve your photography! Learn More.
FOR THE BEST PHOTO QUALITY, SHOOT IN A RAW:
This mainly applies if you’re using a DSLR or a mirrorless camera. Shooting RAW allows you to correct overexposure and underexposure, crop and a lot of other things without losing the quality of your photo post-processing. RAW files are huge, yes and you’ll probably need to buy a bigger memory card to accommodate them. Phone apps like VSCO do allow you to shoot in RAW so take advantage of that if you’re shooting primarily on your phone! Learn more.
MOBILE PHOTO-EDITING APPS DO A PRETTY GREAT JOB TOO:
Sure, Adobe Lightroom and Photoshop are great but before I got my hands on these two programmes, I used VSCO and Afterlight for majority of my editing. For getting rid of blemishes and lines, I’d use TouchRetouch and for GIFS, I’d use the PartyParty app! There are a lot of apps that can help you turn your photos from “meh” to “woah” and there are lots of articles about these apps on the web. You just have to do the research! Trust me, there’s an app for almost everything. Learn more.
YOU DON’T NEED A PHOTOGRAPHER TO TAKE PHOTOS OF YOU:
I had to learn this the hard way. When I started blogging, my brother was my “official photographer”. When I moved away for university, I tried to get my friends to photograph me but that didn’t work out well. You see, I had a clear idea of the type of photos I wanted but trying to explain that to people with no clue about composition was difficult. I ended up getting in a tripod and wireless remote. It took awhile to get used to the stare of curious people and to get a hang of it but in the end I did it! A few of my best photos of me were taken by me! Learn more.
Practice makes perfect. Keep researching and keep learning!
RESOURCES:
Youtube
Google (is your friend)
RECOMMENDED GEAR FOR BEGINNERS
Below are recommended equipment that I’ve tried out myself:
CAMERAS:
LENSES:
EXTRAS:
A Sturdy Tripod
A Wireless Shutter Release Remote
If you’re in Abuja and would like to get your photo taken by me, don’t hesitate to get in touch for my rates!
Places to find me:
Instagram – http://instagram.com/orrblog


Author
I've always admired Roxella's pictures especially her use of filters. This post was pretty good, I learnt quite a few new things especially with the link referral. Thank you.
Princess Audu
Author
I'm really impressed with your writing skills as well as with the layout on your blog.
Is this a paid theme or did you modify it yourself? Either way keep up
the nice quality writing, it's rare to see a nice blog like this one
these days. fodboldtrøjer ShalandaF Arsenal Trøje Børn CliffMist
ReginaSqu fotbollströjor barn Christena
Author
As few of you may well know, I dabbled in photography for a while during university and although I haven’t had the time to really pursue it in the past year, it’s something I still enjoy doing. I don’t know much as I’m still learning but I’m happy to share the little I know below.
vumoo